The Challenge
TSC Subsea received a request from a major operator, Equinor AS, to evaluate the feasibility of inspecting subsea welds on risers coated with thermally sprayed aluminium (TSA). Specifically, the inspection focused on assessing the fillet weld surrounding an anode fixing plate. These risers were situated in the Tampen area of the Norwegian North Sea in approximately 300m of water.
Conducting this inspection was a crucial component of a subsea lifetime extension program aimed at obtaining vital information regarding asset integrity and estimating the expected cycle until the next inspection.
The primary challenge was to effectively detect and accurately measure small cracks, in-service degradation, fatigue cracks and other irregularities within the subsea weld and its adjacent areas while facing the additional complexity of the relatively small size of the anode fixing plates and the anode bar covering 50% of the fillet weld.

Given the intricate and distinctive nature of the inspection, it was necessary to undergo a third-party audited factory acceptance test (FAT). Field samples were obtained, and deliberate defects were introduced into the samples. TSC Subsea was then tasked with identifying these manufactured defects without prior knowledge of their nature.
TSC Subsea thrives on challenges like this, thanks to our wide range of NDT technologies and robotic scanners at our disposal.
The Solution
After extensive discussions with our subsea NDT application experts and mechanical engineers, it was determined that adopting a dual NDT technology approach would be the most effective way forward.
The selected methods were Alternating Current Field measurement (ACFM®) and Subsea Phased Array (SPA™). ACFM would detect surface-breaking cracks in the weld cap, conductor toe, and conductor heat-affected zone (HAZ), while SPA would be employed for volumetric inspection and to cover areas inaccessible to ACFM, notably the area located underneath the anode bar.

NDT Technologies
What is ACFM?

ACFM is an electromagnetic inspection technology widely recognised and approved by certification bodies like DNV, ABS, and Lloyds. It has a proven track record in detecting and sizing subsea surface-breaking cracks in welds. ACFM has successfully replaced traditional non-computerised methods like magnetic particle inspection (MPI) as it reduces user dependence and provides a computerised auditable report.
What is SPA?

Phased array ultrasonic testing (PAUT) technology has become a standard practice for high-resolution corrosion mapping and crack assessment in topside operations. TSC Subsea’s expertise in NDT has now been extended phased array to subsea inspections, resulting in the development of the SPA system. This system incorporates conventional PAUT and leverages advanced applications using the latest Total Focusing Method (TFM) technology.
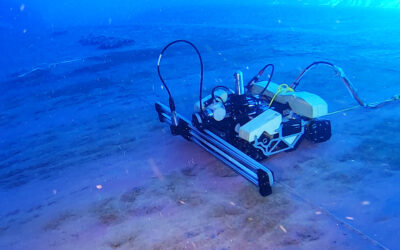
Considering the location and geometry of the welds, it was determined that a modified NodeScanner would be the most suitable robotic solution to deploy these advanced NDT techniques.
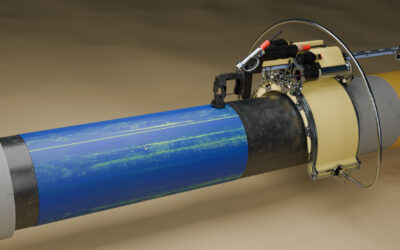
The standard three-axis NodeScanner™, designed to inspect challenging areas and complex geometries, would need to rotate around the weld due to the semi-elliptic shape of the anode fixing plate, adding an additional 360 degree scan axis to the scanner.

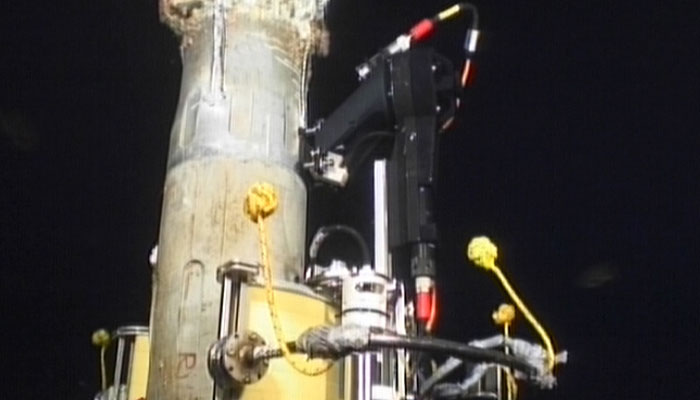
TSC Subsea engineers devised a brilliant design within a few weeks, enabling the inspection probes to rotate around the inspection area. The robotic arm provided the necessary dexterity to achieve meticulous scanning motion around the semi-elliptic weld face, similar to the movement of a human hand.
For the ACFM inspection, the ACFM probes were configured by TSC ACFM L3 operators, using controlled slots inserted into the samples provided by the client. Both the specific material properties and the TSA coating were taken into account to ensure the ACFM data collected was of the highest quality.
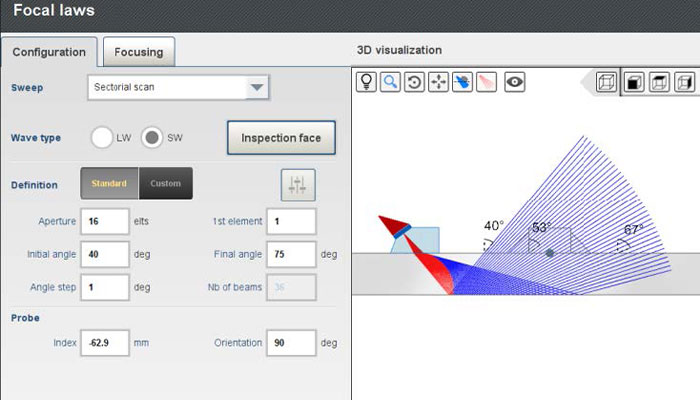
For the shear wave inspections, typical of this scenario, the phased array probe was positioned on a refracting wedge made of suitable material, allowing for electronic steering with a refracting angle of at least +/- 20 degrees.
Raw PAUT data was collected and electronically stored at intervals of approximately 1 mm along the scan length. This data was subsequently processed and manipulated to enable analysis from various orientations.
With the agreed upon NDT technology and deployment methods, it was time for the Factory Acceptance Test (FAT) at the UK facility. A purpose-built water tank was utilised to simulate subsea conditions. The test sample, along with the customised NodeScanner, was immersed in the tank. The sample consisted of four anode fixing plates positioned at the 12, 3, 6, and 9 o’clock positions. As this was a blind test, TSC Subsea was unaware of the defects present.

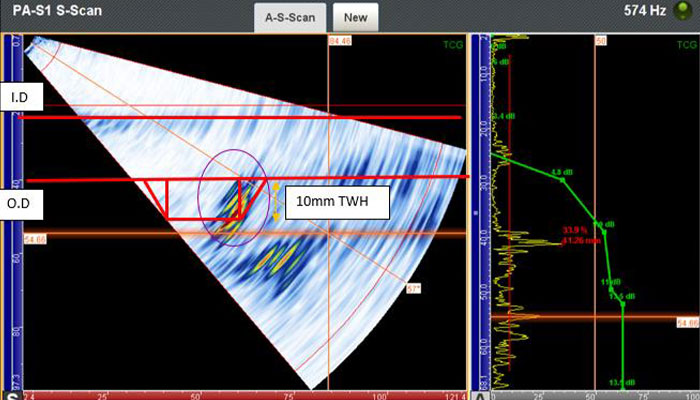
The ACFM technology was deployed first to detect surface-breaking cracks, followed by SPA.
Due to the attachment of the anode fixing plate, the scanning could only be performed from one side of the plate. However, by combining ACFM and SPA, it was possible to inspect all sides of the plates, including the critical area located at and beneath the anode bracket.
The Result
The FAT was a resounding success, with the smallest detected defect measuring 2 mm in depth and 8 mm in length. All parties involved were extremely satisfied with the outcome, and the project progressed to the planning phase for site deployment.
Within three weeks, TSC Subsea mobilised its team and commenced inspections on numerous risers in the North Sea.


In just a few days, TSC Subsea was able to generate the inspection report. No significant cracks or defects were found, enabling the operator to confidently enter the information into their asset integrity management system.
This achievement once again demonstrates TSC Subsea’s capabilities in leveraging advanced technology to tackle the most demanding subsea NDT inspections worldwide.
“We are grateful to Equinor for presenting us with this excellent project that pushed the boundaries of our expertise. By combining different NDT technologies, we were able to provide our customers with the most reliable inspection allowing them to make a more informed decision on their subsea asset integrity management.
This accomplishment was truly a team effort, involving our dedicated application experts, engineers, and NDT specialists. Through collaboration and perseverance, we successfully overcame all obstacles and delivered a first-rate inspection that met the deadlines and stayed within the allocated budget.”
TSC Subsea Project Manager
