The anchor was discovered during a pipeline jet trenching campaign using a multi-beam sonar system, producing a 3D image of the pipeline and the abandoned anchor on the ocean bed.
Although the area was marked as a no-anchor zone, prohibiting vessels from deploying anchors, an unscrupulous individual disregarded the restrictions and dropped their anchor. Regrettably, for the client, the lack of markings on the anchor posed a challenge in identifying its owner.
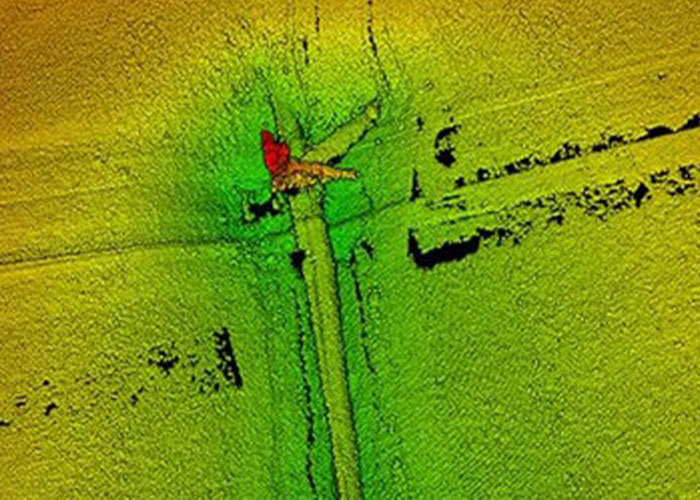
Multi-beam sonar image
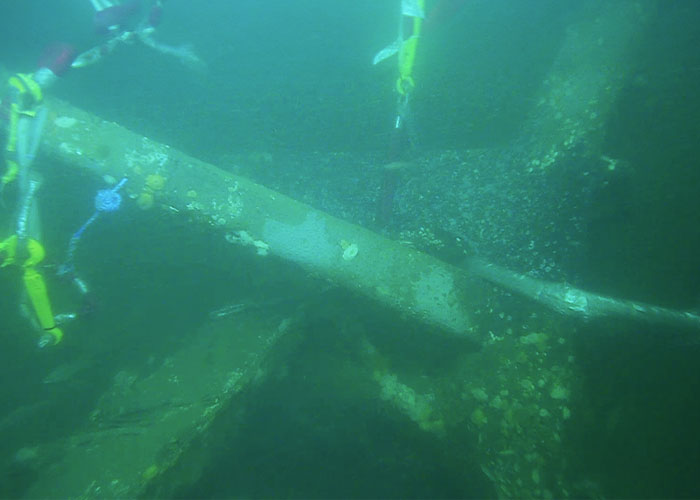
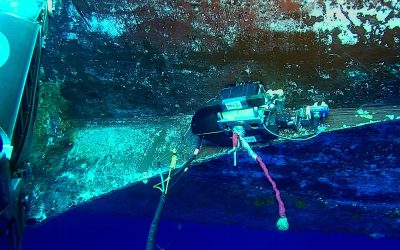
Anchor attached on pipe
The Challenge: Subsea Pipeline Ovality/Dent Mapping with Wall Thickness Measurements.
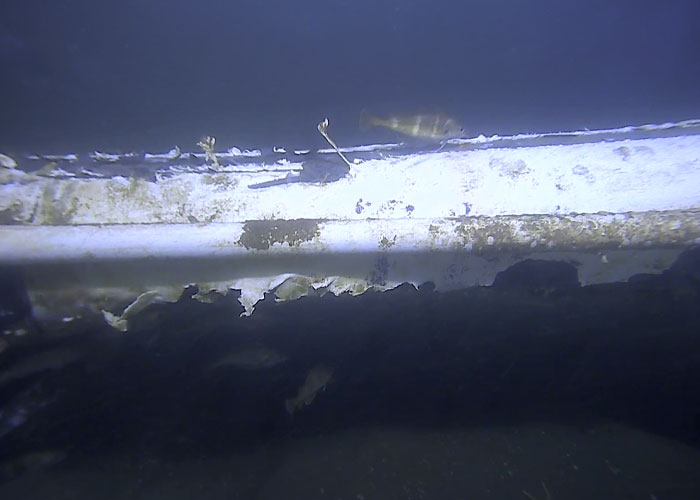
2 in piggyback line
The client faced uncertainty regarding the severity of damage caused by the anchor, necessitating a swift and reliable subsea pipeline assessment. The primary challenge was selecting a diverless technology capable of conducting a high-resolution wall thickness measurement survey and ovality/dent assessments simultaneously without causing further harm to the pipeline.
Adding to the challenge was the presence of a 2-inch (50 mm) piggyback line at the 10-11 o’clock position running along the larger 16-inch (406 mm) pipe.
Further complexity was added as the pipeline lay on the seabed, limiting the access beneath the pipeline.
The Solution: ARTEMIS with Acoustic Resonance Technology (ART).
Following discussions between the client and TSC Subsea’s team of expert subsea application and Non-Destructive Testing (NDT) engineers, it was decided that TSC Subsea’s proprietary Acoustic Resonance Technology (ART) was the most suitable technology for the job.
To deliver this remarkable technology, TSC Subsea had several choices of diverless robotic scanners capable of performing the task. The decision was reached that their ARTEMIS represented the ideal ROV deployable solution, requiring only 300 mm (12 in) of access beneath the pipe and capable of accommodating the piggyback line, thereby providing maximum achievable circumferential coverage.
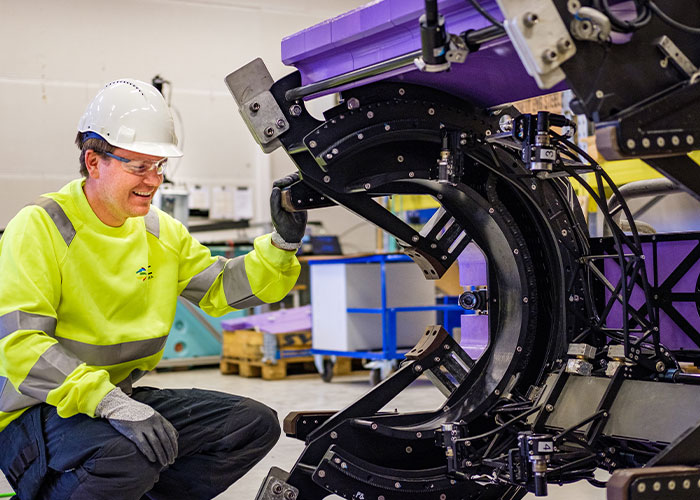
ARTEMIS
The selection of ARTEMIS was further justified by its stability when attached to the gas pipeline. The unique clamping mechanism of ARTEMIS ensures it maintains a fixed, stable position. At the same time, the four non-contact ART sensors remain vertically fixed but possess the capability to move horizontally, covering distances of up to 700 mm (28 in). This allows for a comprehensive 360-degree x 700 mm (28 in) inspection area from a single position in normal operating conditions.
Unlike alternative subsea pipe inspection systems that involve direct contact, ARTEMIS’s ART sensors do not need to be in contact with the inspection surface, making it the ideal solution for dent and ovality assessments.
ARTEMIS proves to be not only well-suited for dent mapping assessments but also excels in high-resolution wall thickness measurements. With an exceptionally high probability of detection (POD), ARTEMIS can capture thickness readings at every millimetre in both the x and y axes, amassing thousands of readings from a single position. Its depth sizing accuracy of +/- 0.2 mm underscores why it is the preferred choice of many major oil and gas operators for its subsea pipeline inspection.
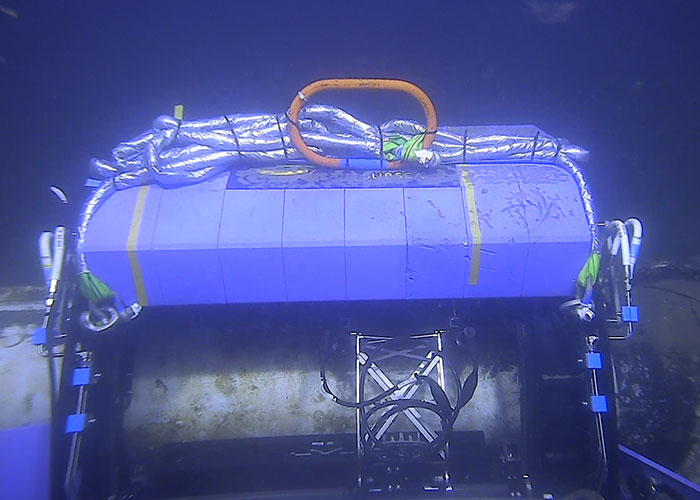
Ovality assessment and dent mapping with ARTEMIS
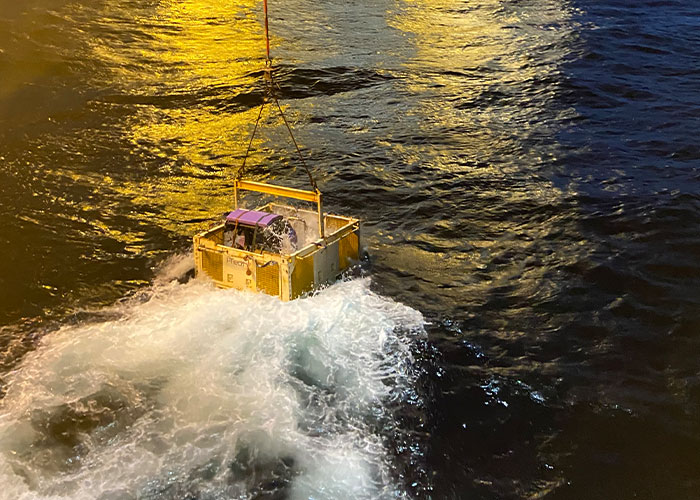
Wet-mate basket deployment
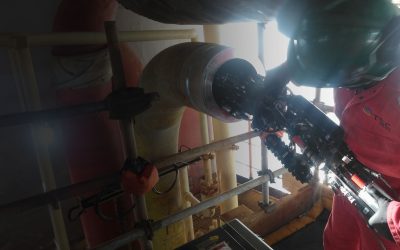
ARTEMIS offers various deployment methods, and for this particular operation, a wet-mate system was employed due to the vessel’s ROV deployment capabilities. This involved placing ARTEMIS into a basket, which was then lowered to the seabed via a crane. Subsequently, the ROV connected the Tronic and Hydraulic stabs, utilising their manipulator function before deploying ARTEMIS to the inspection locations.
Result: Successful Pipeline Ovality Assessment.
The project demonstrated remarkable efficiency, with a turnaround time of four weeks from the initial inquiry to the delivery of the inspection report.
ARTEMIS, rated to 300 bar and capable of diving up to 3000 m (10,000 ft), effortlessly handled the 30 m (98 ft) depth. With two arms 180 degrees apart and each arm accommodating two ART transducers, ARTEMIS is capable of full circumferential coverage with only a 180-degree rotation.
Before the inspection, a subcontractor was tasked with removing the anchor and dredging a small amount of the seabed beneath the pipeline.
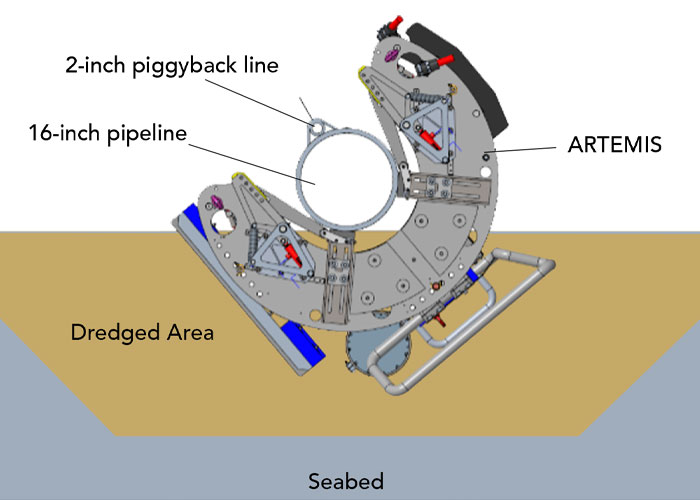
ARTEMIS scanning position
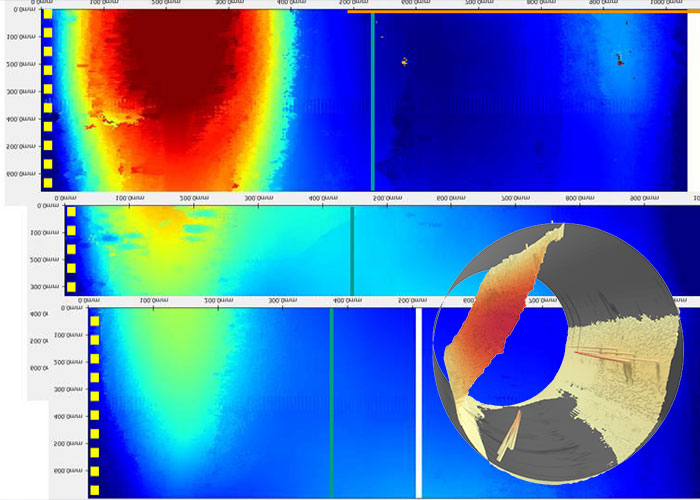
C-Scan data of dent with 3D model
ARTEMIS covers a scan length along the line’s axis of 700 mm (28 in). Three scans were conducted, each with an overlap of approximately 100 mm (4 in), to ensure maximum coverage. Due to the presence of the 2-inch (50 mm) piggyback pipeline, the tool was deployed onto the pipeline at the 4-5 o’clock position, allowing for an impressive 290-degree coverage.
No wall thickness loss was identified above the specified reporting threshold. However, a substantial geometric feature indicative of a dent was observed, spanning from the 11 o’clock position to the 6 o’clock position, with a depth measuring 111 mm (4.4 in) at its lowest point.
The client expressed great satisfaction and confidence in the inspection data. Having a detailed understanding of the extent of the damage both in 2D and 3D allowed for a more informed decision and is now looking at utilising ARTEMIS and ART for future subsea pipeline inspections.
TSC Subsea’s expertise in solving the most challenging subsea inspections once again played a crucial role in enabling the client to conduct valuable integrity assessments on their subsea assets, ensuring the availability of reliable inspection data for informed decision-making.
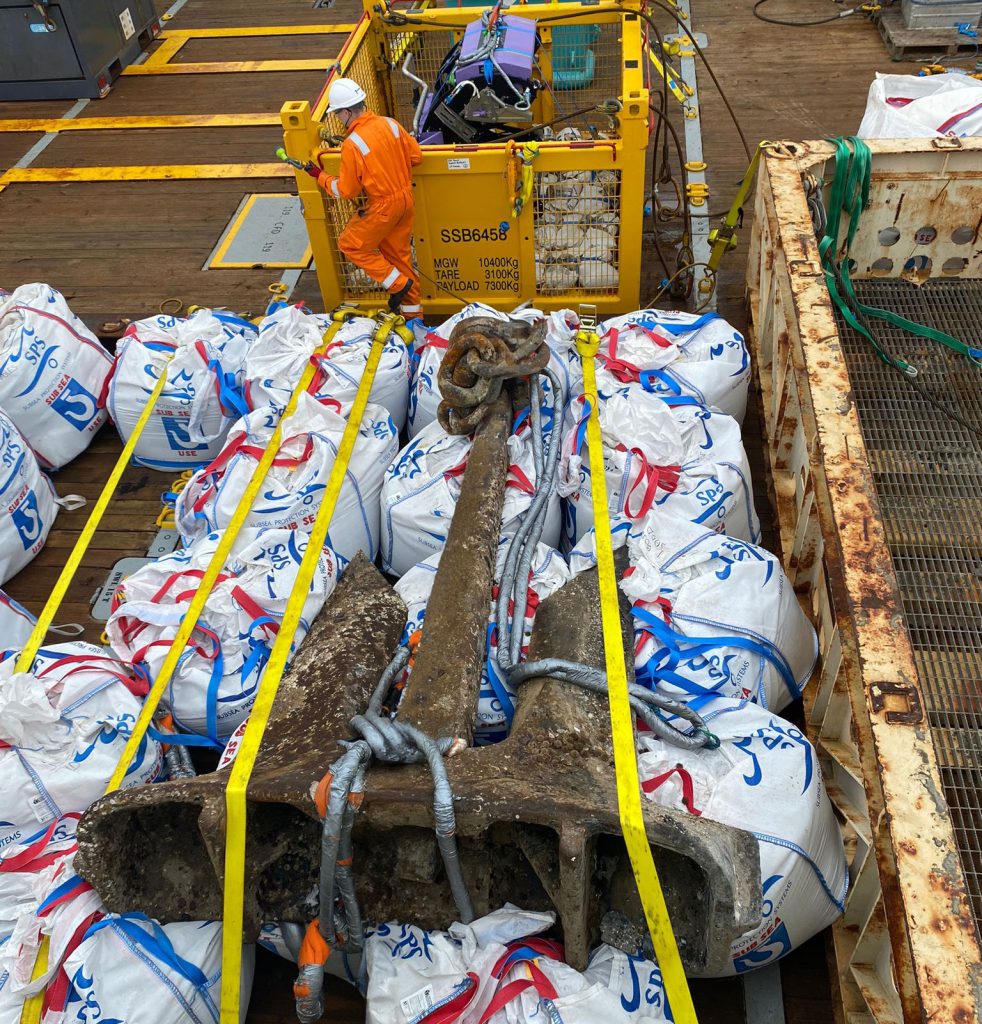
Back onboard – ARTEMIS and recovered Anchor
